Want an Instant Facelift? Contouring/Highlighting Basics for Women 50+

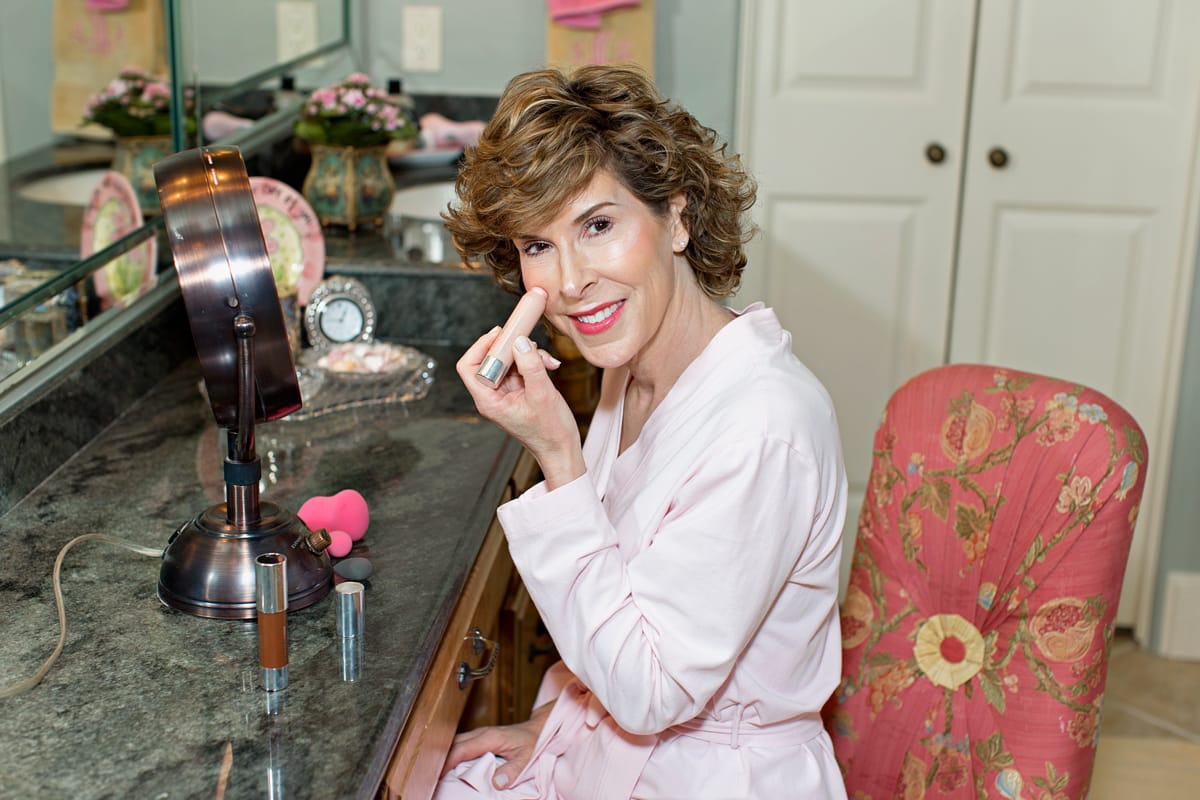
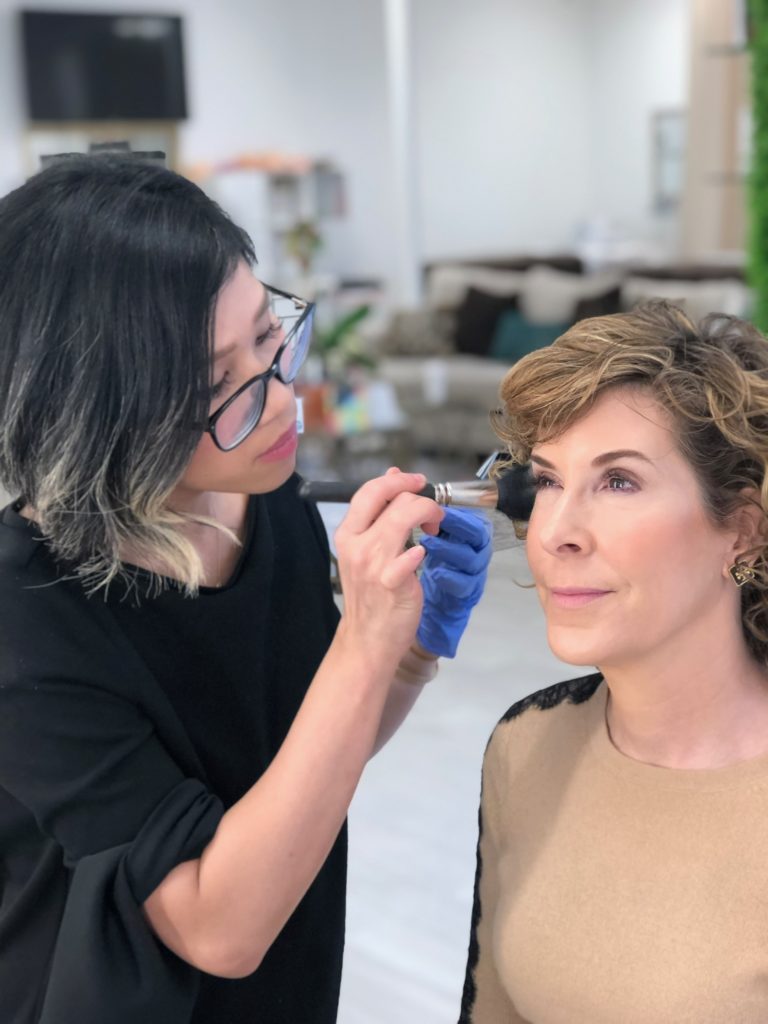
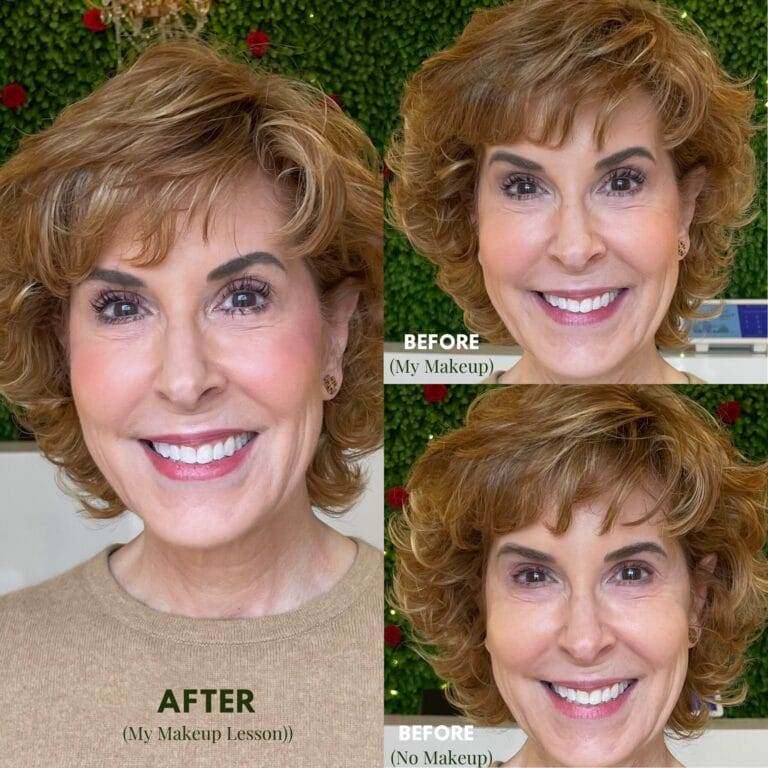
I’m all about using makeup to enhance what the good Lord gave you. I love the idea of contouring, and it’s ability to give women a more sculpted, slim, and youthful appearance. I’ve wanted to learn how to contour and highlight properly for a while, but it always seemed kind of complicated. I knew I wouldn’t do it if it wasn’t simple and quick! Also, I didn’t want to share it with you until I felt like I could make it easy, clear, and fun. After a private lesson with Dallas makeup artist Bebe Tran, and watching countless YouTube tutorials, I’m ready to share a simple and quick guide to highlighting and contouring.
Contouring/Highlighting Terms
First of all, let’s get our definitions down! Contouring is done with a matte, dark cream, powder or stick to define or reshape. When you contour a feature, it makes it fade away visually. When you highlight a feature, it emphasizes the feature visually. (You may have also heard highlighting referred to as “strobing.”) My daughter, who’s an acting major, recently took a class on stage makeup. She gave me an easy way to remember contouring and highlighting. It’s not too complex! She said that you basically contour anything you want to recede (Saggy jawline anyone?) and highlight anything you want to accentuate (Cheekbones, anyone?).

Contouring/Highlighting Products & Tools
After trying powder contouring and highlighting products on my own, I decided I didn’t like the way they sat on my skin. They tend to settle into lines and wrinkles. The makeup artist confirmed this and told me that cream highlighters were definitely the best call for over 50 skin, which tends to be drier. As I explored the product options, I came across and decided to go with them. They’re compact, easy to take when traveling, and the highlighting stick isn’t too shimmery and sparkly. Bebe Tran thought they were a great choice!
The Midlife Makeup
Mistakes You May Be Making
Plus, How to Fix Them!
Already a subscriber?
Enter your email—you won’t be
subscribed twice!
Although she recommended blender sponges, she acknowledged that in a pinch you can blend them with your fingers. I’ve tried that, and it does work if you’re in a colossal hurry, but I don’t recommend it! Why? If you don’t take the time to blend really well, you may end up looking streaky and ridiculous! (Been there, done that!) I highly recommend using blender sponges — and a few ones.
Apply Your Everyday Makeup
Apply. I use because it does double duty as both a serum and a primer.
Apply. I love because it covers well and contains sunscreen.
Apply. I use this brand because of all the ones I’ve tried, the pigments in this one don’t fade out like other blushes I’ve tried. For tips on proper blush placement for women over 50, see this post. (BTW, most women wear it too low, which drags down the face.)
Apply eye shadow. I like this brand because it glides on without tugging your delicate eye skin and doesn’t crease.
You can wait to apply mascara, eyeliner, and lip color.
My Everyday Makeup (Latest Faves)

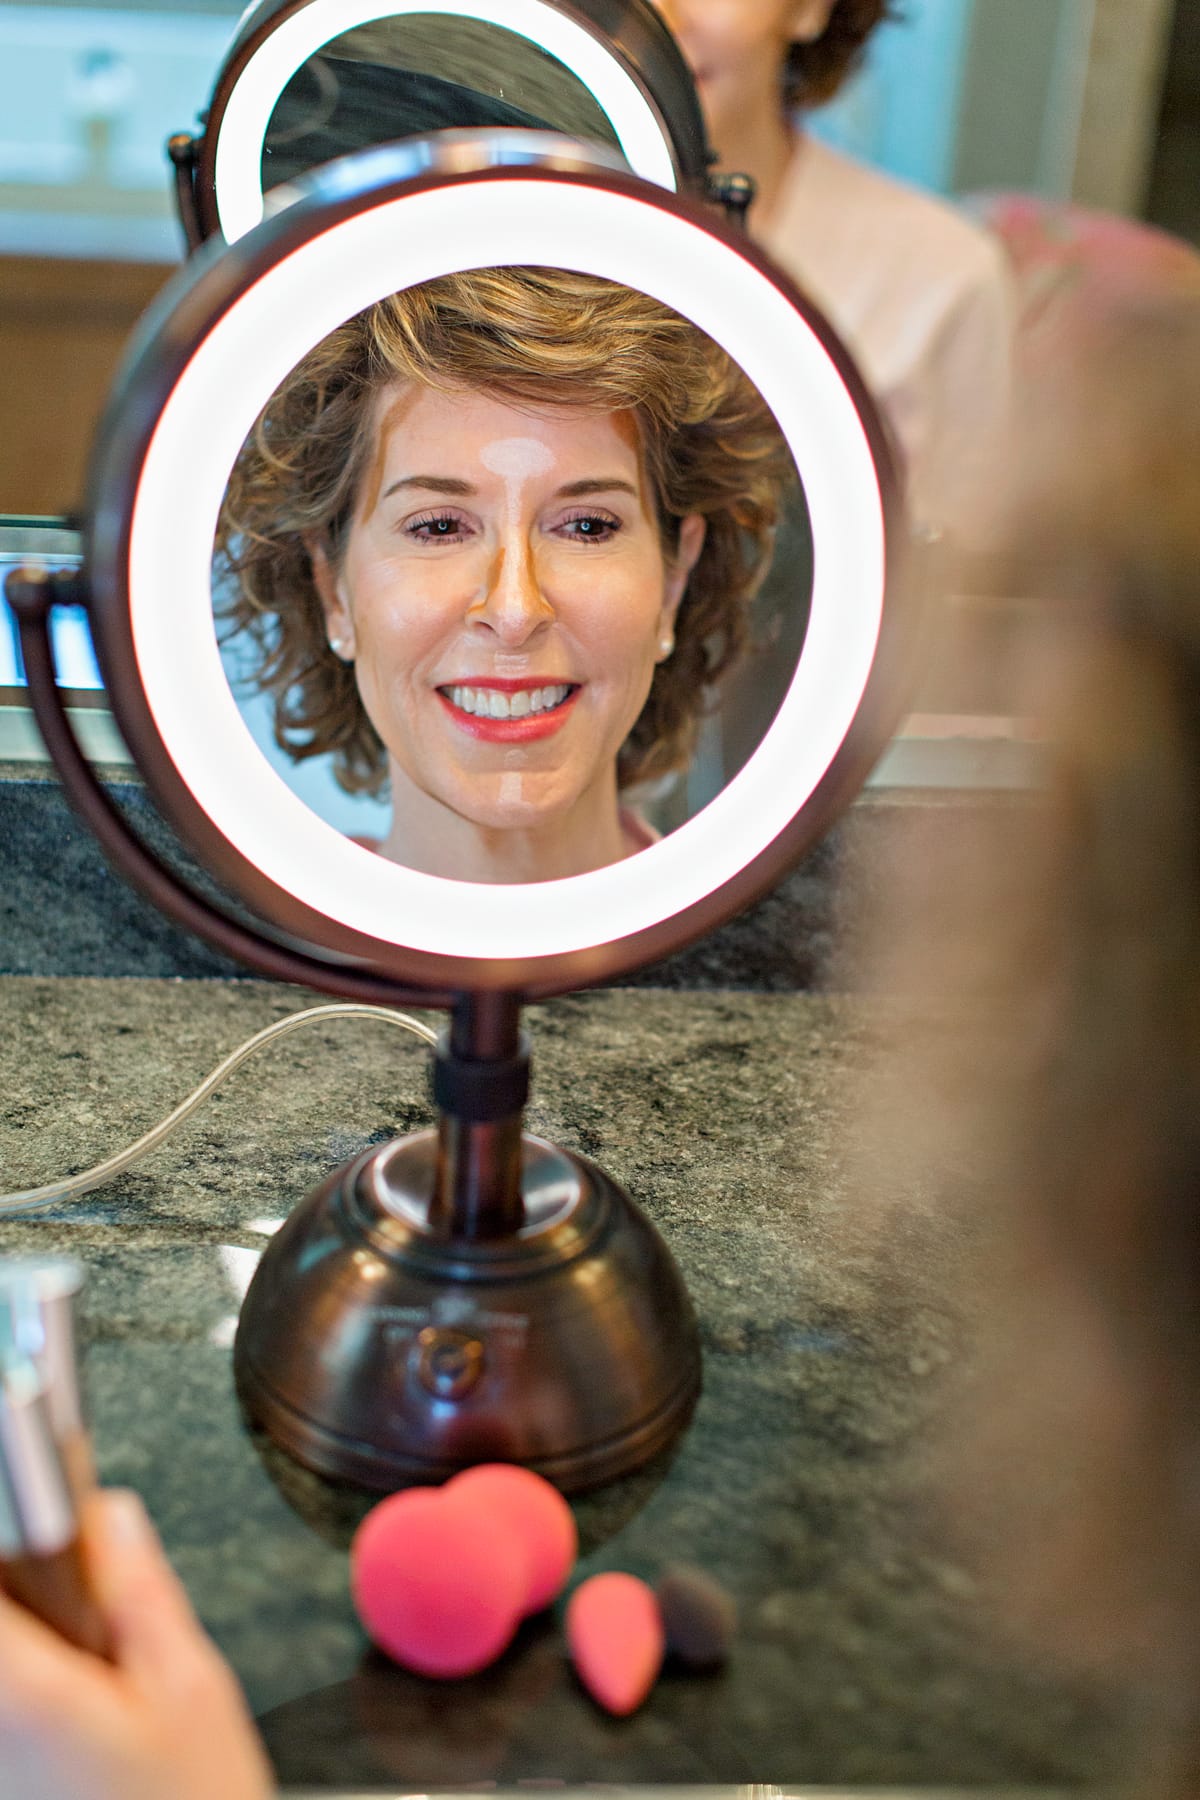
Contouring Basics
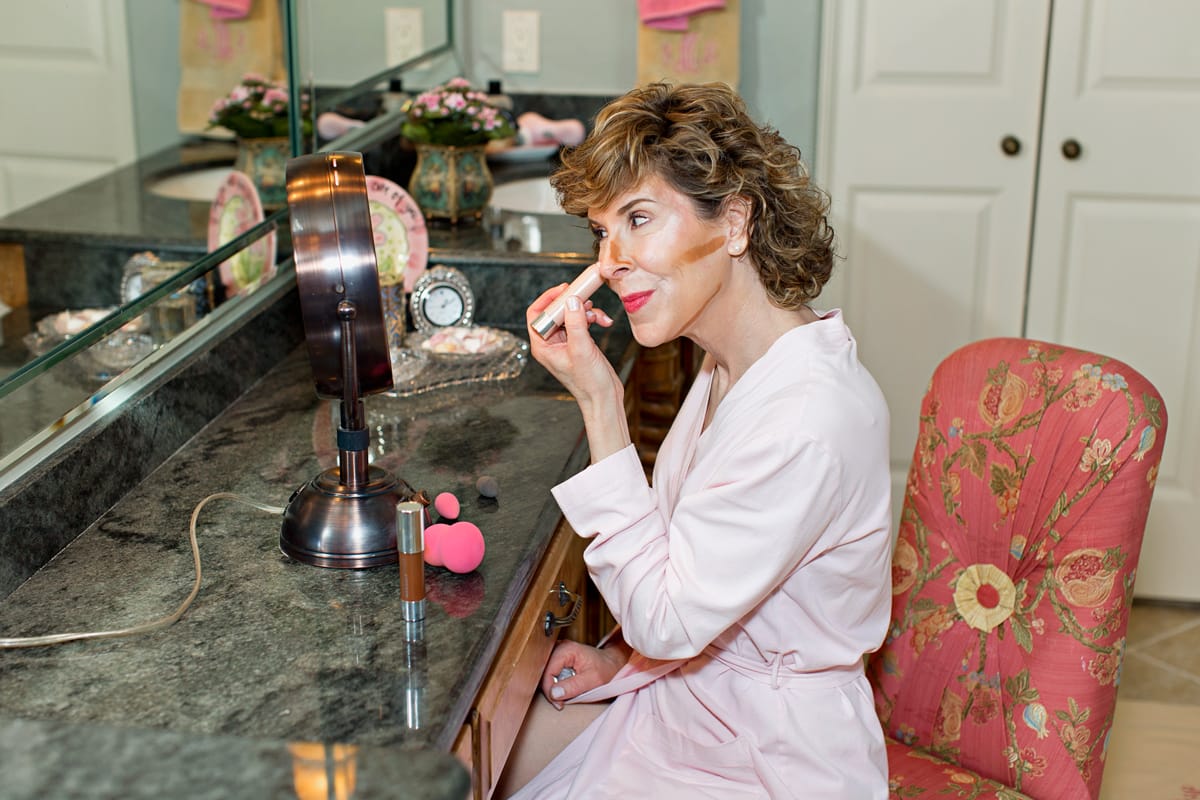
- Contour right above your temples. If you have a high forehead that’s not covered up with bangs, continue the line up the hairline.
- To emphasize your cheekbones, contour along the ridge just under your cheekbones. Use your fingers to feel this out and make sure placement is correct.
- If you want to make your nose appear narrower, swipe a thin line of contour to each side of the nose.
- To minimize a double chin, contour just underneath the bones of your chin.
- To give a sagging jawline a lift, use the contour just under your jawline.
Highlighting Basics
- The most important place to highlight is along the top of your cheekbones. Start just below your undereye area and take it all the way into the hairline.
- Highlight your cupid’s bow by dotting the highlighter there.
- Minimize a double chin by dotting the highlighter on your face right above the tip of the chin. You can run it up toward your mouth if you want.
- Highlight your brow bone (just under the eyebrows) to lift and wake up your eyes.
- Highlight the inside corner of your eye to open up the eyes.
- Highlight your frown lines in between your brows.
- Highlight the nasal-labial folds that run from the corner of your nose to the sides of your mouth.
Blending Basics
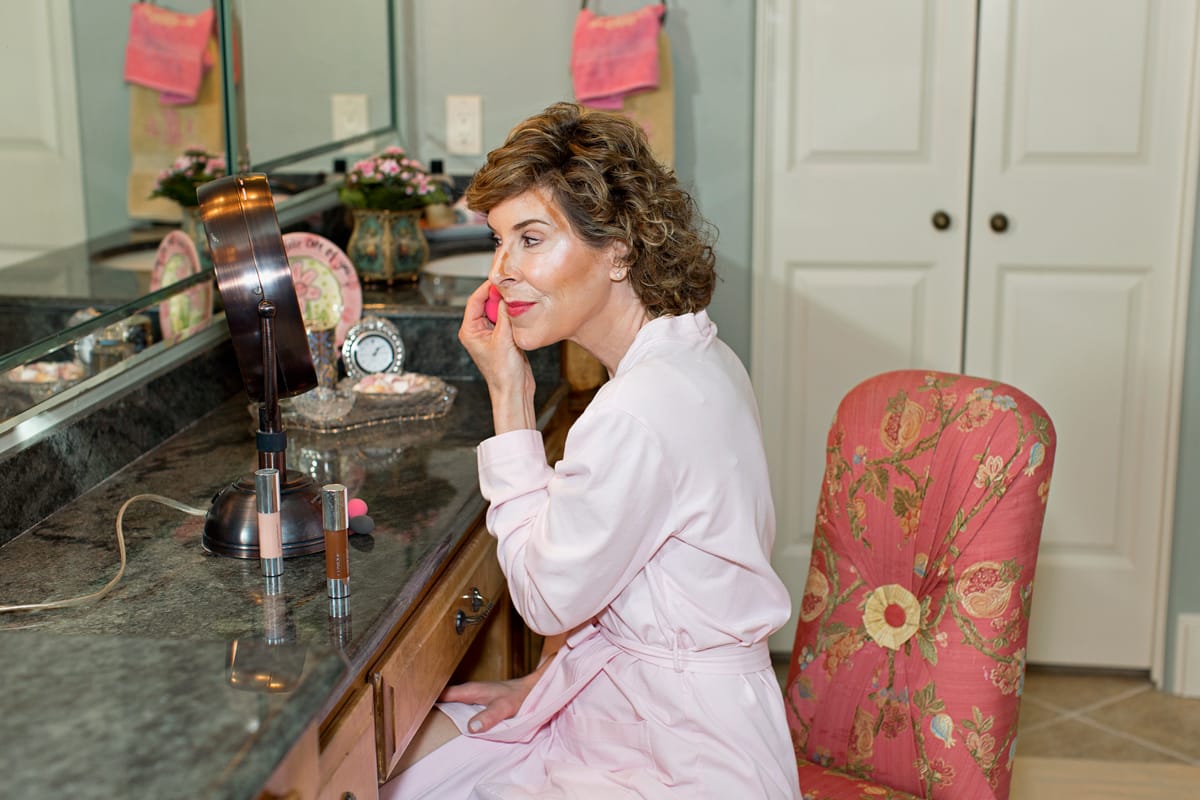
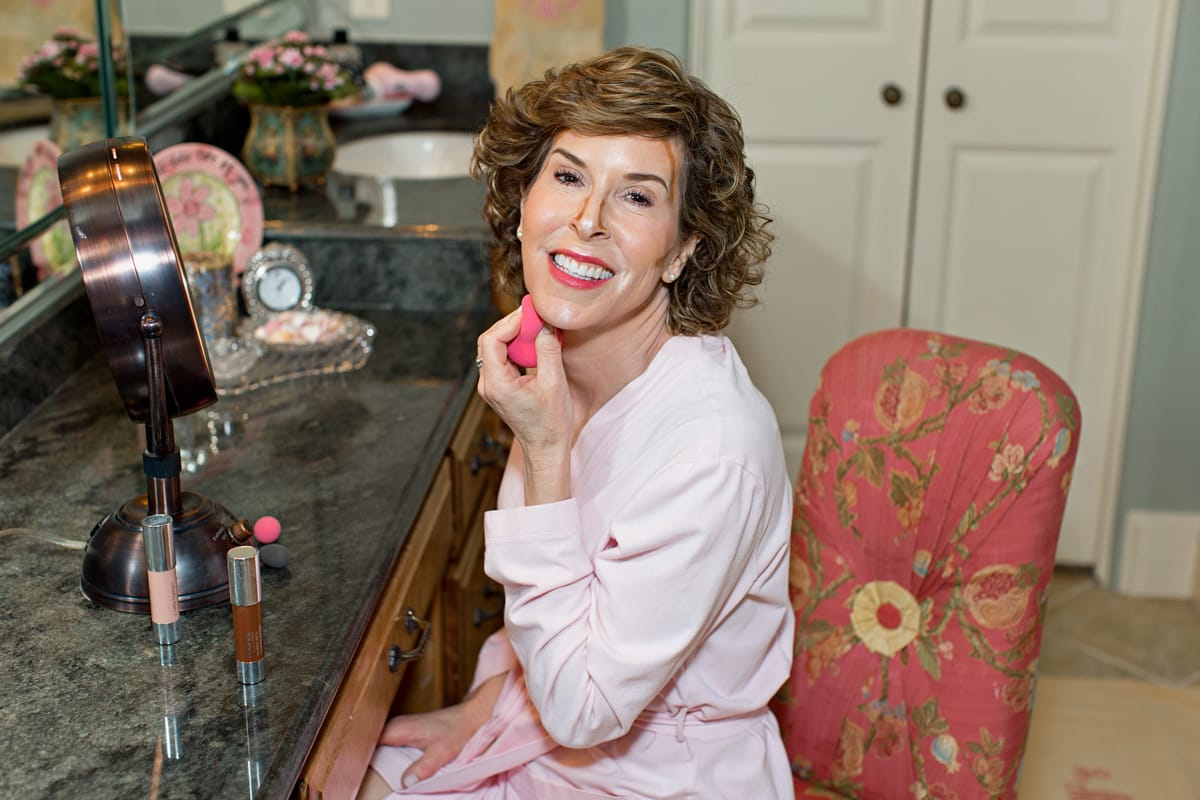
Moisten the large blender sponge and hold the rounded end. Using the pointier end, press (don’t rub) the dark contour into your skin, blending it along the edges with a slightly circular motion. If you don’t moisten the sponge, too much product will transfer onto the sponge, and it won’t work as well. Use one of the larger sponges for contour and the other one for highlight. Use the smaller blender sponges for the smaller spots, like the sides of the nose and another one for the corner of the eyes.
To Learn More
To review some of the For a really helpful article on contouring and highlighting for your specific face shape, click here.
Have you explored contouring and highlighting? What products do you love? Please share them with me in the comments! I love sharing my beauty adventures with you. We’re in it together, friends!

















This post was quite interesting. How much time does this regime of highlighting and contouring add to your daily make up routine? Do you plan to use it everyday or only on special occasions? I will definitely try some of the highlighting techniques. Up to now, I have only highlighted my cheekbones. Once again, thanks for doing all the legwork.
Sweet Laura,
Thanks for your comment! I only do the entire regimen on special occasions. Most of the time I just do my cheekbones and the cupid’s bow. Even the whole regimen only adds about 2 minutes, though. Happy weekend, and thanks for reading and commenting. xoxo Suzy